I recently noticed that it's not such a rare case when writers of IF (I mean writers, not software developers) use tools like ChoiceScript that have no decent (free) text editors. Those guys can produce 50000+ words per game and it's a pain for them to debug tons of pseudocode without any help from their text editors, even without such simple things like syntax highlighting.
When I have no time to search for special software for editing texts or code, I use Notepad++.
This tutorial contains two parts:
1.) The first part in which you will just download and install my own style sheet for Notepad++
2.) The second part that will explain you how to create your own style. This part is based on the first one.
You can choose your way of completing this quest ;)
So, let's get started.
1.) Easy way.
1.1.) Download my style file.
1.2.) Open Notepad++ and go to 'Language'.

1.3.) Go to 'Define your own language'.

1.4.) Press 'Import...' button and choose my style file that you downloaded on the step 1.1.
1.5.) Go to 'Keywords List'

1.6.) If everything is okay, you will see something like this:

If everything is not okay...well, unlucky! Try to use the way of pros in the part 2 of this tutorial.
1.7.) Save installed style sheet (I used name 'test123').

1.8.) Choose installed stylesheet here.

1.9.) Your files with ChoiceScript code will look like this:


2.) The way of pros.
- Perform step 1.2 from the part 1: Open Notepad++ and go to 'Language' menu
- Perform step 1.3 from the part 1: Go to 'Define your own language'
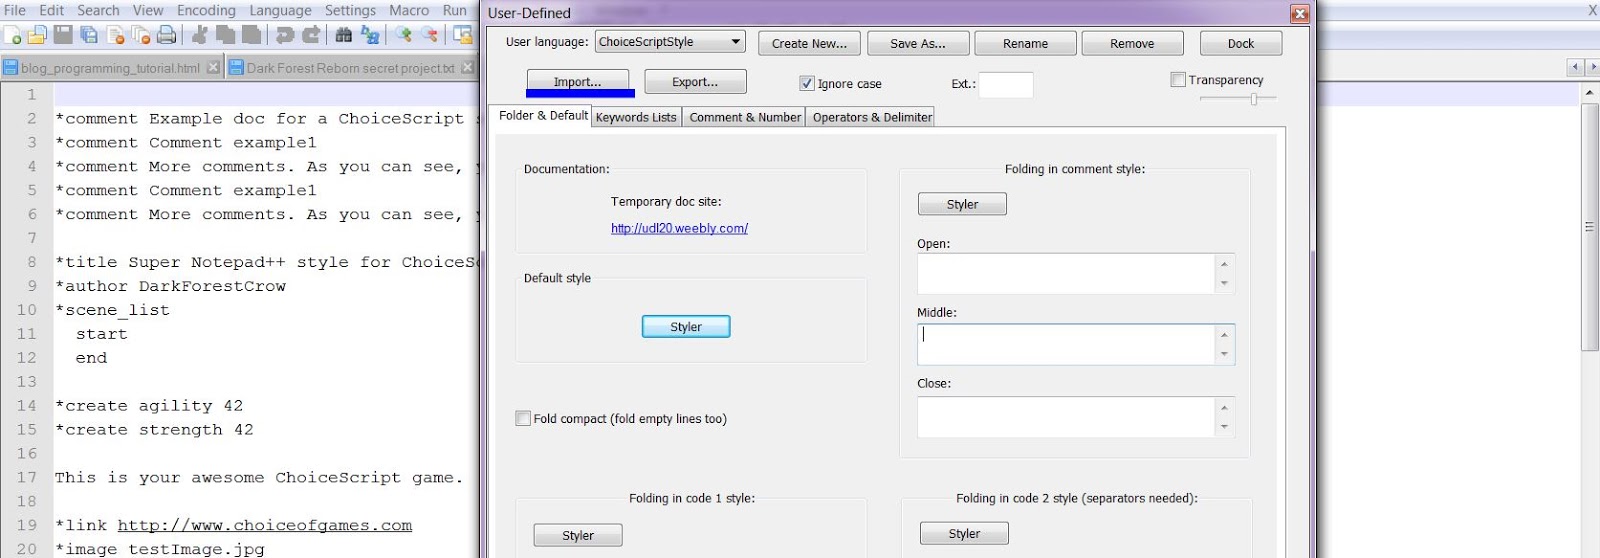
- Skip step 1.4 and perform step 1.5: Go to 'Keywords List'
You will see this window with empty fields:

You can add as many ChoiceScript keywords as you want. Press 'Styler' buttons to setup keywords colors.
- Save your style sheet: check step 1.7.
- Choose installed stylesheet: step 1.8. That's all!
I hope this mini-guide will help you. If something didn't work, leave a comment!
This comment has been removed by the author.
ReplyDelete